Pages

Monday, May 14, 2012

Thanks


 Thank You


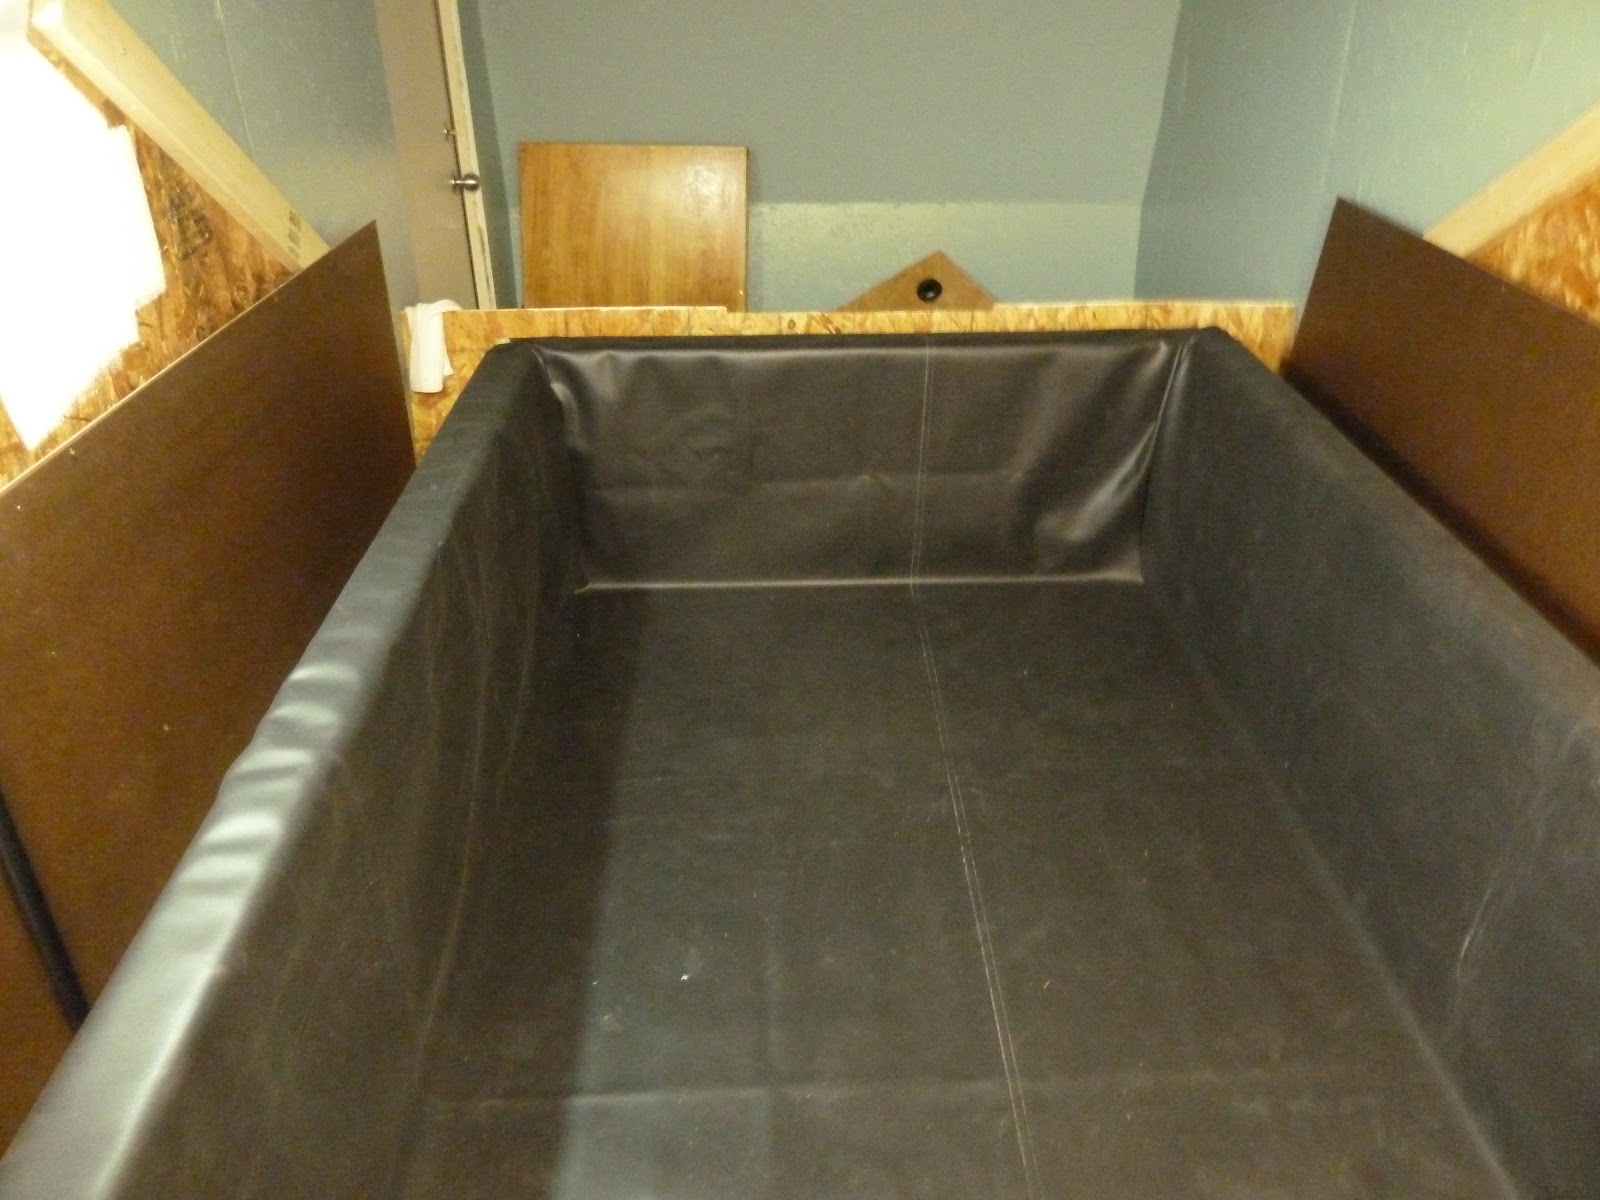
I have now done three sessions in my new tank and everything is working great.

I wanted to thank everyone here who help me along my adventure of build my own tank!

I first wanted to thank Crash at Floatlabs  - where I did my first float ever.

I want to thank Lee at Samadhi  for the  inspiration and support.

And finally I  want to thank David at Oasis  for helping me with supplies and the plumbing system.

Thank you and all the other that helped me make this a reality!


And a special hats off to 

Mr. "Happy to Spend Your Money" Guy


Thursday, May 10, 2012

In Goes the Salt

It a little anti climatic but this is what $1000 worth of salt looks like.


It took over 6 hours to dissolve the salt.
I did this in four sessions due to the size of the hot water heater.


This is 5 bags (50 lbs each) - it took 21 bags or 1050 pounds of salt to 
reach the correct gravity (1.27).


With all the salt dissolved now I just have to wait for it to reach the correct temperature 93.5.
It's starting the night off at 89.2.
Soon!


Monday, May 7, 2012

Sunday, May 6, 2012

Saturday, May 5, 2012

Back Together

One more line to make sure we have a "water tight" seal.


The newly painted front panel back in place with the door attached.
The door worked perfect after being reattached.
Surprised and very happy.


The back is set and ready to be tested.
After all this work I'll see if it works when I add water tomorrow.


Friday, May 4, 2012

Putting it Back Together

So it was a big day.
We put the four top pieces back together on top of the base -
and it fit!

Here it is from the front -


Here is a back view


A shoot of inside the tank -
black is the new black.


Covering the Pieces

The top is made up of four pieces.
Each piece has foam board insulation on the outside:


Then the inside has foil insulation:


And finally each piece is covered with 6 mil plastic:


Here is the back with holes for the plumbing and air flow:


The Liner is In

So I got the liner all set up.


Wednesday, May 2, 2012

Tuesday, May 1, 2012

Plumbing Redesign

After talking with David (who sold me the plumbing equipment) I had to redesign the system.
I got a crash course in fluid dynamics.
So here is the new set up.


The end goal was to remove elbows and create a more direct flow for the water.

Monday, April 30, 2012

Saturday, April 28, 2012

Lining the Bottom

So I took the entire tank apart to start the process of lining it.
During this time I'm double checking the plumbing system -
this is a full rookie design.


The pipe on the right will take water out of the tank to the cleaning system.
The pipe on the left is the return for cleaned water coming back into the tank.


I've lined the entire area with foil insulation and placed the water bed heater.


Here's a view from the back of the tank - you can see the controls.


Thursday, April 26, 2012

Painted the Shower

So I painted the shower area - Thanks Aleece & Karen for picking the colors!


In the long run the back walls will be covered for the shower area.
The front of the tank will be a slightly darker version of this.

Monday, April 23, 2012

Plumbing is Close

So after rounding up all the pieces I set the plumbing up today.
Waiting to make sure it's correct before gluing it all together.

The top and bottom pipes are for air flow.


Close up.


And inside the tank.


Monday, April 16, 2012

Painting the Shower Area

Wow - white will sure brighten up a room fast.
Did a few coats of primer today - turned out OK.


Had some extra so did a little more of the ceiling than I was planning on.
After seeing how bright it made everything might as well.


Thursday, April 12, 2012

Plumbing and the Back

So with the plumbing equipment arriving I built a container to hold it.
A simple raised box to let ant water drain to the shower area in the front of the trailer.
Sealed it up with a little water proof spray to finish it off.


Here it is in relationship to the back of the tank


The lines will go on each side.
Two other holes will be cut here for convection air flow.

Covering the Front

Before I can put the liner in I need to somewhat
prep the front of the trailer for when a shower goes in.
Here is the piece that will cover the front and have the door.

One of the next step is going to be to design the door.

Covering the Internal Pieces

Now that the front is done I took everything apart
and cover the interior with plywood.


These will be cover with insulation and a plastic covering.

Added a Door

With the tank now right in the middle I've put in the second door.
I wounder what people think when I walk out one only to go into the other?


The Front is Done!

So going with a triangle wasn't so bad at the start.
When it cam t to making the entry I ran into some problems.
This took way longer than it should have.
The 2 edge support had 5 different angled cuts each
We lost some wood here. 


But it's done!